The faux rivets were a fun experiment, not only that, but they looked good the next day. Sometimes, on the previous night, I’m near sleepless over how cool an idea is. This one I regarded as practically the VEHICLE GRAPHICS COUP OF THE CENTURY! Then, the next morning I’m thinking “WHAT???” I did WHAT???
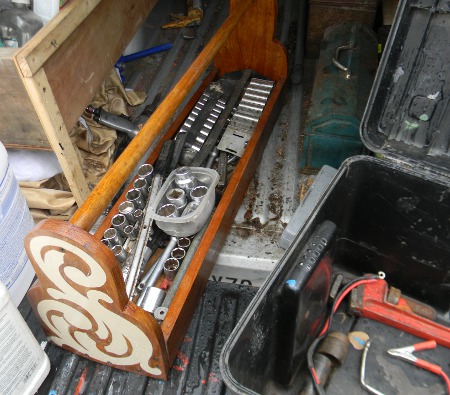
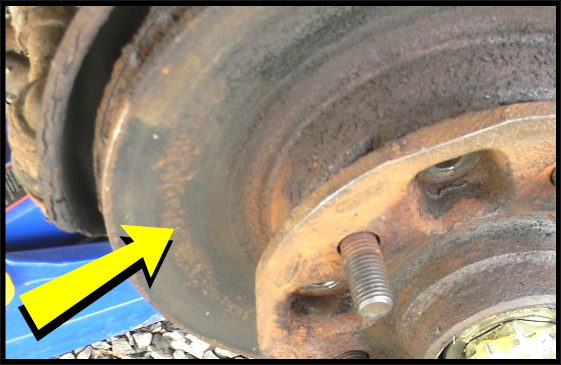
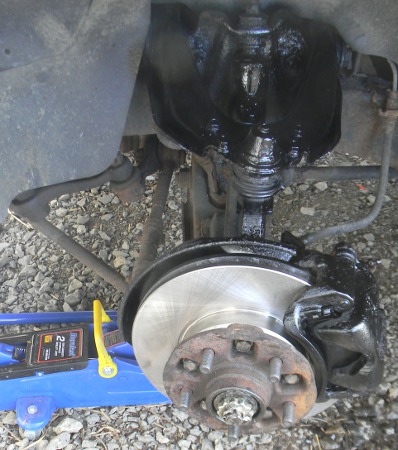
But it was still cool the next day. But it was only an experiment of something to do later. Over the weekend, I did two things at once. I had help anyway. I taught two of my sons how to change the rotors and pads on the front of the Toyota truck, while I did a body work experiment on the back. Each boy did one side, I paid them $10 each. It didn’t take very long, and was a good way to learn a task. I was nearby to answer questions. The brakes really needed work; the passenger side pads were cracked. Both sides had pitting on the rotor, which also looked worn down. I figured that the pitting made less flat area to brake against. See yellow arrow. The second picture shows the new rotor and pads, along with paint on the upper control arm. I cleaned the parts well, but didn’t disassemble anything to paint. No relevant verse came to mind for this project while working on it, but not taking it apart reminded me of a story Jesus told about an enemy sowing weed seeds in a farmer’s wheat field. By the time it was obvious, ripping out the weeds would have damaged the good plants. So the farmer told his workers to leave them together until harvest. The story is about different kinds of people in world. The tares get put in bundles and burned.
I found that parable in the Bible very fast with “The Word”, awesome free Bible software.
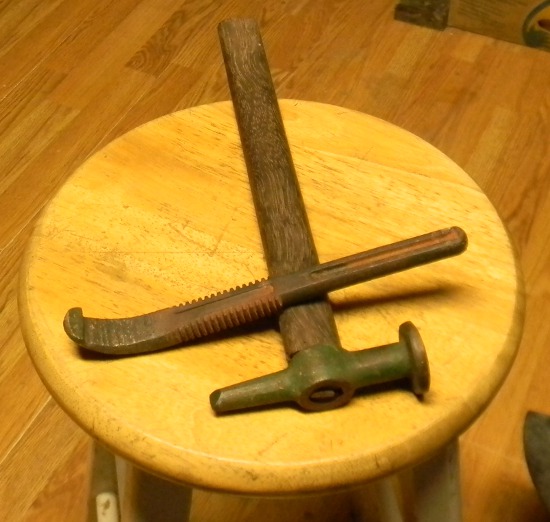
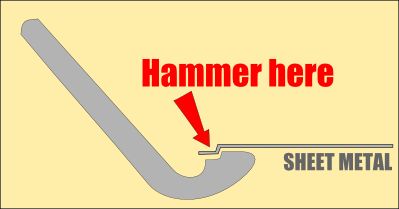
 The body work involved an experiment I’ve been thinking about for a few months. I wanted a steel tool that was sort of hook shaped, with a step like drop on the upper surface. The idea being to put the hooked part just inside the edge of a hole on the body. This is after the area has been cleaned and painted inside and out. Regardless of what people say, properly treated rust won’t continue to spread, if you keep the oxygen away from it. Air and water are oxygen sources. Anyway, I also made a small straight peen hammer. The hammer is used to hit the sheet metal and make it conform to the step part of the hook tool.
Maybe I should back up a bit. I’m not a body expert by any means, but I can barely do my own projects. Trust me, sheet metal and body work is a mysterious art form. If someone quotes a hefty price for it, there’s a reason. I’ve done this replace sheet metal without a mig welder thing before. If you put the new metal on top of the existing body, then you not only have the metal sticking up, but the rivet heads too. They make a two part body glue to replace welding, but it costs more than I wanted to pay. Then you have very artistically feather the body filler you applied over the rivets out very gradually, sanding ever so carefully until a shadow of the rivet starts to appear. Even if you get it nice, looking along the length of the body, this sort of repair can still show the patch.
So the big idea here is to lower the new metal, rivet heads, and body filler lower than the surface of the existing body. Very little feathering required. It looks like it works well, but I’ll have to post some better ‘after’ pictures later.
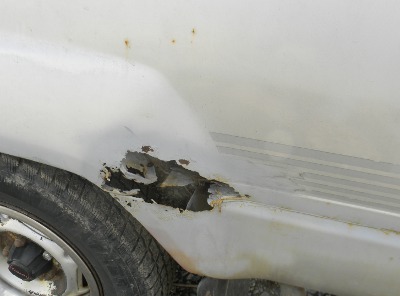
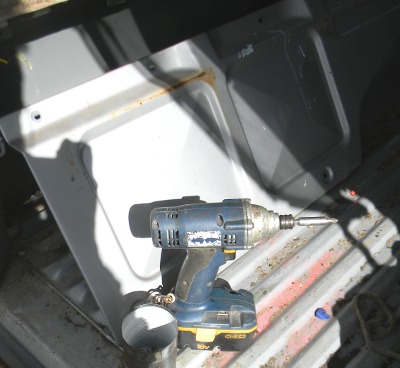
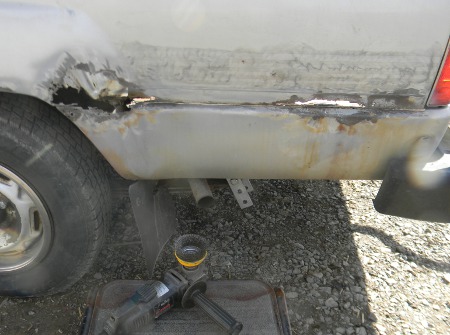
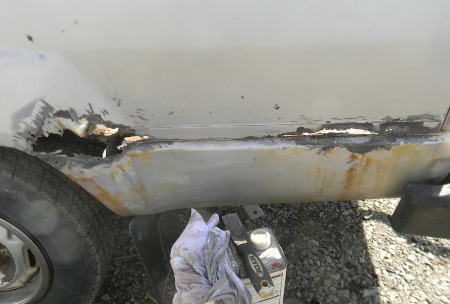
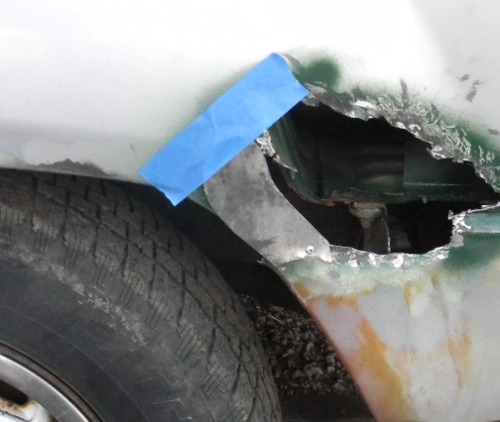
The first picture is the hole, with dried primer around it. Looks more civilized driving around with that than brown rust. The next picture is removal of the inner panel to get access. Leaving the backside unpainted would make this body project a waste of time. One nice thing about this method is that I can lay a good coat of paint on the back side of the new metal; and nothing gets burned off by the heat of welding. The third picture is the outside area after going over it with the 4 inch angle grinder and wire wheel. Again, this tool (bottom of the picture ) is indispensable. It also shows the factory vinyl stripe graphics after hitting them with the wire wheel. That worked great, vinyl graphics can be a royal pain in the neck to remove. The next picture shows the residue of the graphics cleaned off with strong solvent and a cloth. The next picture shows the first piece of new metal being attached. The green paint is fresh, but ignore that. I used more than one piece to help with the shape. The last piece shows the tool I made, and the hammer I changed to straight peen. The Info graphic explains the tool better. Now that I’ve made, it, I have several improvements in mind, but that will have to wait.