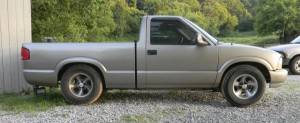
Hello, and welcome to this site. You might have come here because you saw the web address on the latest mural project, a 2000 GMC Sonoma. The picture below at left is how it looked before starting. It needed serious mechanical work, but it’s almost ready for the road. The progress reports on the Sonoma start at the bottom of this page. There is a separate page with pictures of camo trucks and cars I’ve seen in this area. If you want a picture of your camouflage truck there, use the email address on that page to send me the picture. This little camo car is there: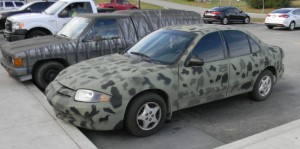
Over the years, I’ve had murals on my trucks, you might have seen them. there’s a separate page aboutThe History of the Leaf Truck. This 1987 Toyota is there.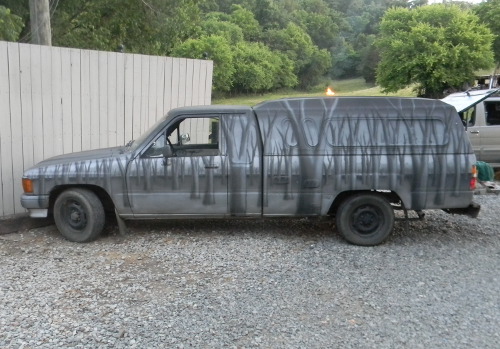 I imported the picture of the Sonoma into a vector editing program; so that I could experiment and plan the layout of the new mural. the first thing I’ll do is paint it semi gloss black, or off black. then I’ll paint the radiating blue lines on the truck. The lines are intended to bring more depth to the mural. The leaves you see in this picture are rough representations of what I’ll do later. I put them in to see where I wanted the center point of the lines to be. A nice and unexpected bonus is that I really like the way the blue works with the black.
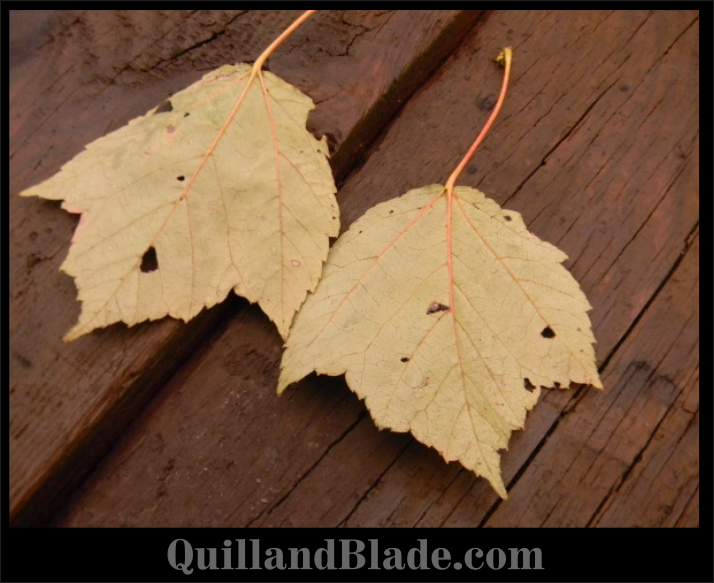
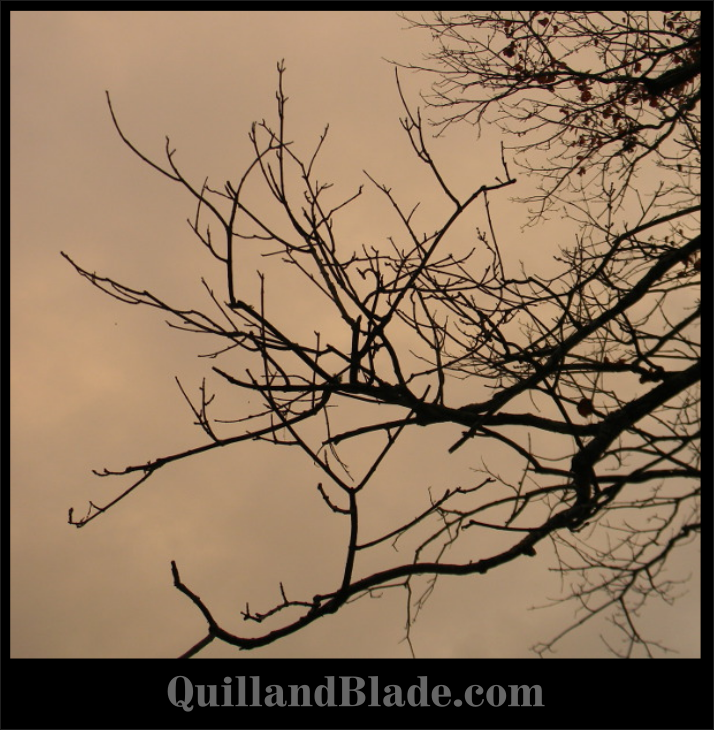
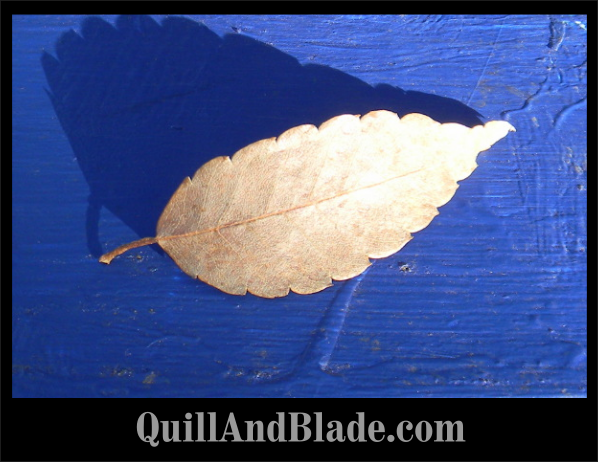
Her are several pictures I took to study leaves and branches. Initially, I thought I would use the Hackberry leaves in the first picture, but now I’m thinking about the Maple in the second picture.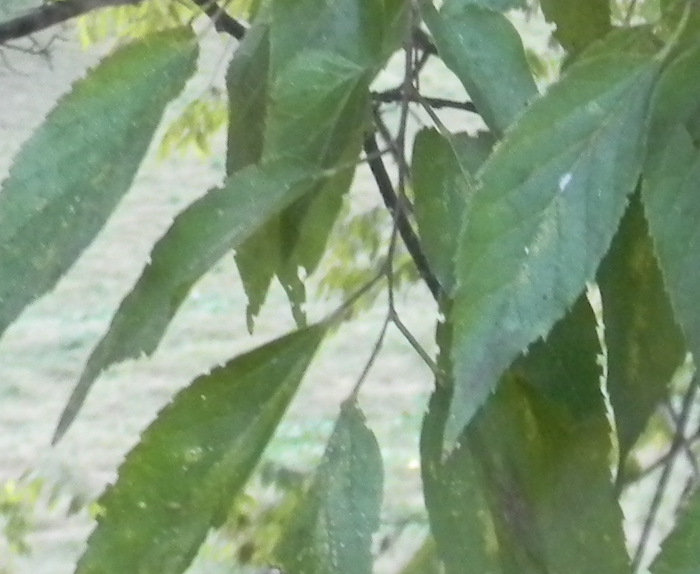
Now that I’m looking at leaves more closely, I’m seeing interesting things. Here are a couple pictures I took recently. The yellow Maple struck me for how wide it is, and how pointed the top two points are. I’m not sure what the brown leaves are, maybe Elm. What’s interesting about those is how straight the veins are.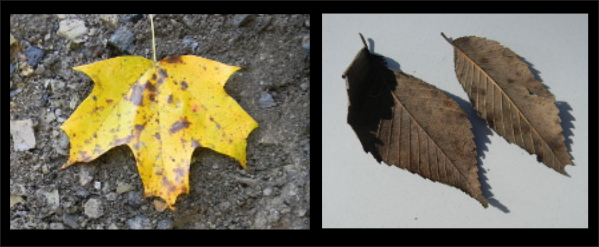 I was looking for the whitest paint I could find, in order to replicate the methods of the Dutch Masters. Those methods are fascinating, but I’ll describe them later. Part of the process is to start with the illustration void of color. It’s all black, white, and different shades of grey. That’s why I was looking for a very bright white.
I didn’t find much in the way of new developments, though I’ll keep looking. What I did think of is a method that’s new to me. On the places where the white highlights will be, I’ll apply two or three layers of sandable automotive primer. then I’ll modify a wire brush so that the bristles are cut at a sharp angle. I’ll use this brush to cut angled ridges in the primer. It obviously depends on getting the surfaces facing the right way, Otherwise, there will be such a shadow below each ridge that the shadow will nullify the gains of the altered light reflection.
On the left is a representation of a normal truck body painted white. In the middle is a similar cross section, but with ridges cut in the grey primer. It’s just a theory, I’m looking forward to experimenting with it; and I have a light meter from a 1950’s 35mm camera to test the results. This is how I have a blast without TV.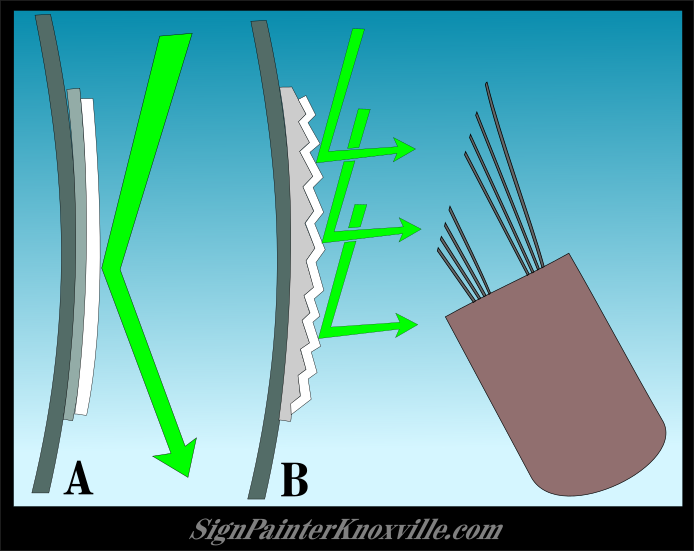 Update 11-11-2019: I made a separate page to share the pictures I’ve found in my study of trees:
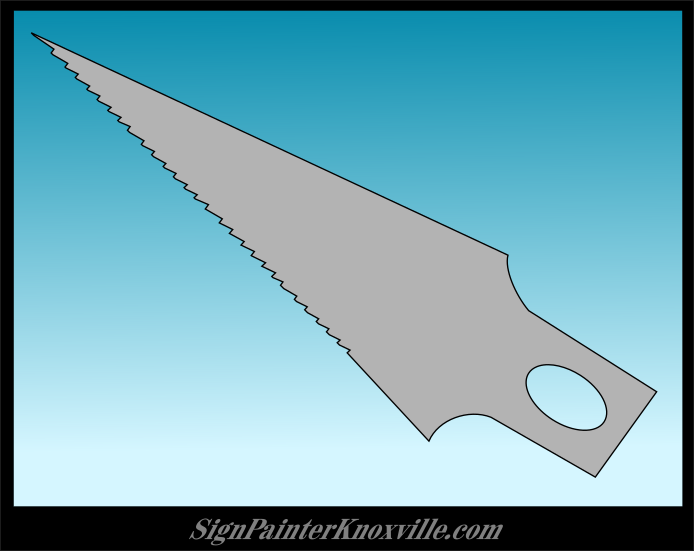
 Update 11-16-2019: I realized that putting ridges in the primer would be a much more exacting process if i made a tool. A good choice is an exacto blade that has the ridges cut into it using a jeweler’s file.